In May 2016 my girlfriend and I moved into our first owned property - a modest mid-terraced 2 bed in the suburbs of Eastbourne on England's sunny south coast.
We knew when we were looking at potential houses that a two bed would require a third room option; a large shed, garage, basement, or attic space that could be used for either her office or my games room.
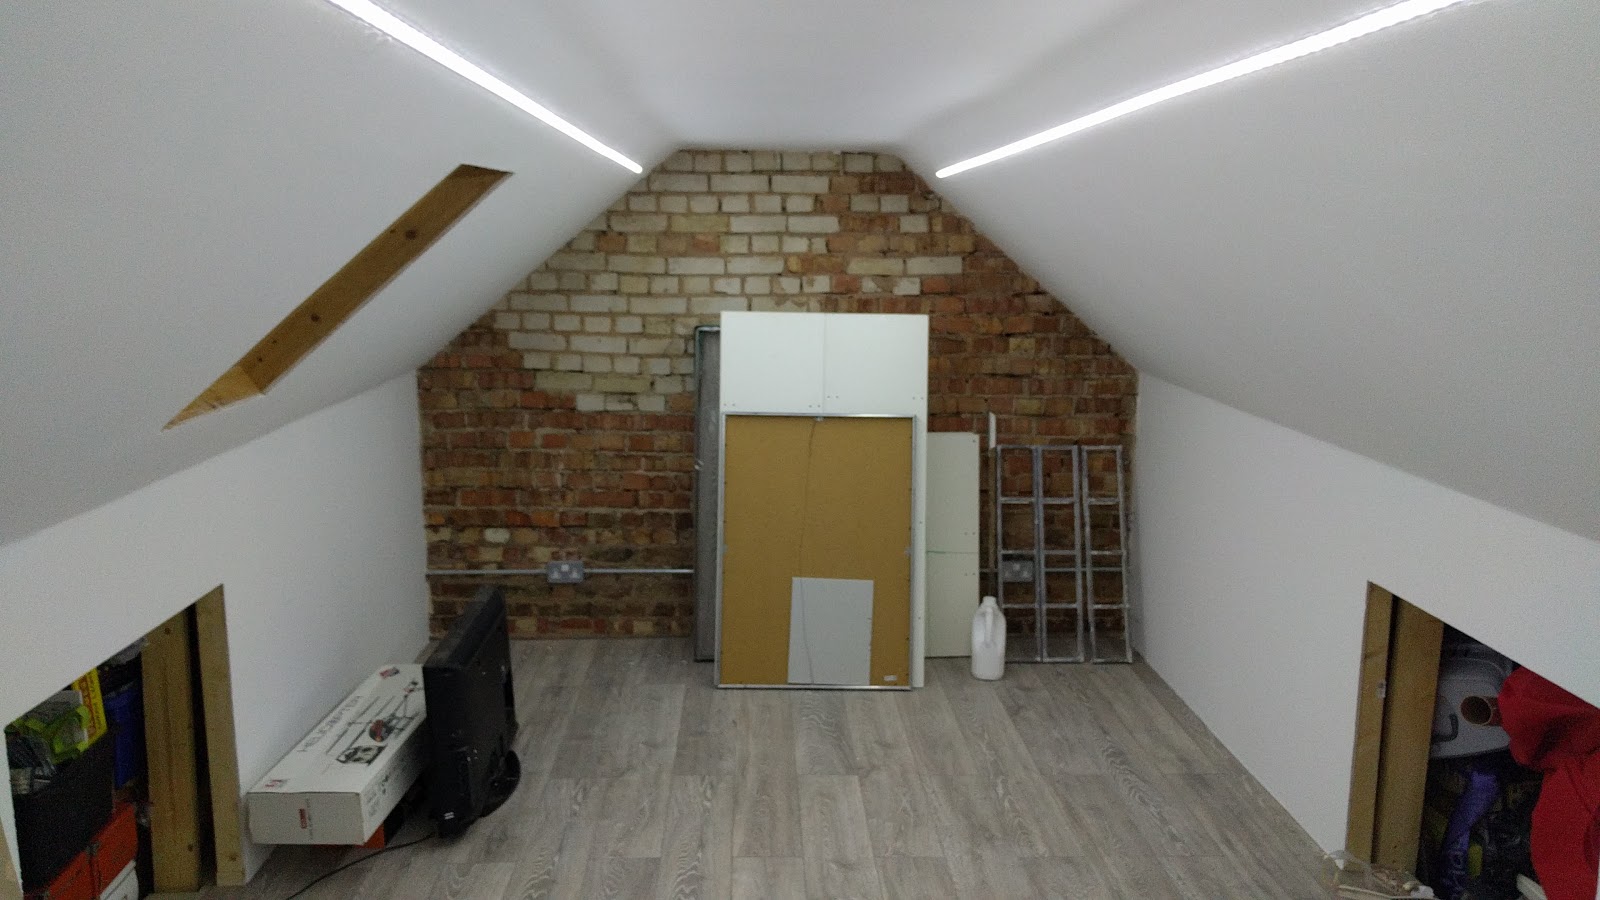
It was important, then, that when we visited the house that we ended up buying I asked to look in the loft - and this is what I saw...

I was happy that we could work with this.
Initially I looked at ways we could work around the chimney, but none were really a good solution, so after a few conversations with builders and engineers we decided to remove it.
We also briefly considered a full conversion that would include permanent stairs and various other work to meet building regulations for an 'official' room, but decided instead to go for more of a high-spec hobby room - more than just boarding out the loft but stopping short of something we could call a third bedroom.
The original plan was to start the work immediately after moving in but - as anyone who's ever moved house will know - these things rarely go exactly to plan and, despite the May move-in date, work didn't start on removing the chimney until October 2016.
As my first experience working with building contractors this went really well. The guys were retirees who we were put in contact with via our ex-landlord. It was a solid two days of near unbearable noise and dust but, thanks to conservative skip use, they came in £400 under budget.

Very soon after I got a different guy in to do the structural work and fit a small Velux window. The two horizontal ties had to removed and replaced with 12 much smaller ties at the apex of the roof. further work was required to reinforce the horizontal timbers. Soon after work began the contractor informed us that some of the work he quoted for would not be necessary and so he, too, came in under budget.
At this point everything that I was going to pay others to do was complete and it was up to me to keep the project moving.

The first job was to remove the insulation and work on reinforcing the floor. Even in a full boiler suit, gloves, and protective mask it was horrible, itchy, wheezy work that no amount of showering seemed to alleviate.
Eventually though, the insulation was gone and I began hanging the 225mm joists to support the floor.

These joists were hung between the structural joists running the length of the space at the sides and a third which runs across just off-centre along the top of the house's single structural wall.
The off-centre middle wall was a couple of inches lower to start with so had to raised up with a additional joist screwed to it's top and then once this 'floating' network was nailed into the hangers, 21mm structural flooring was laid on top.

 The floor was mostly very simple to lay. The only complication came at the end when, due to the tounge-and-groove design, specifically shapped notches had to be cut into the edges so that the final boards not only fit around the vertical timbers, but could be shoved along laterally afterwards.
Work started again in early march with getting the house insulated.
I picked up a bargain load of foam board from a factory-seconds seller on ebay who at just the right time, had just the right board, in just the right quantity.
Temporary lighting was put in to allow me to work into the evenings and after a couple of life-interrupted weeks and several cans of expanding foam another job was ticked of the list.
Following this I fitted 20mm galv trunking and metal clad double switched sockets that can be seen on the back wall. An electrician colleague of my father-in-law tested and signed everything off for £30.

As soon as the floor was down I installed a concertina style ladder and some aluminium tread plate around the hatch edges.


With the floor down and running up to the existing structural timber I put the stud wall in place.
Working to the size of the loft hatch meant the plasterboard was going to have to be pretty small, 900x1220mm, luckily the stud wall was about 1100mm so by building the wall to accommodate fitting the board vertically I knew I would save myself some work in the future.

Like pretty much everything to this point, I'd never tried plasterboarding before. It would have been a straightforward task but for a choice I'd made on my lighting.
Watching Grand Designs one evening I'd seen LED tape lighting laid into recessed track and fallen in love. In order to fit this a 10mm gap needed to be left in the plasterboard and this complicated things more than I anticipated. I first hung the plasterboard with the track in place as a guide...


Then, when the components for my transformer finally arrived I removed the plasterboard and track and then fitted the electrics and replaced the plasterboard. I didn't refit the track as this would have to happen after the plastering was complete and painted.

He showed up at 7:30, left at 14:30 and charged me £250 for a superb job.
All that was left for me was painting and fitting the lights.
Now I was really down to the finishing touches. The main things being trimming the eaves access and making doors with incorporated shelving and building a couple of shelves using scaffold and 6x3 inch timber from a local wood reclamation yard.
Then it was time for the furniture and features and, almost exactly a year after I started, my games room was finished.


